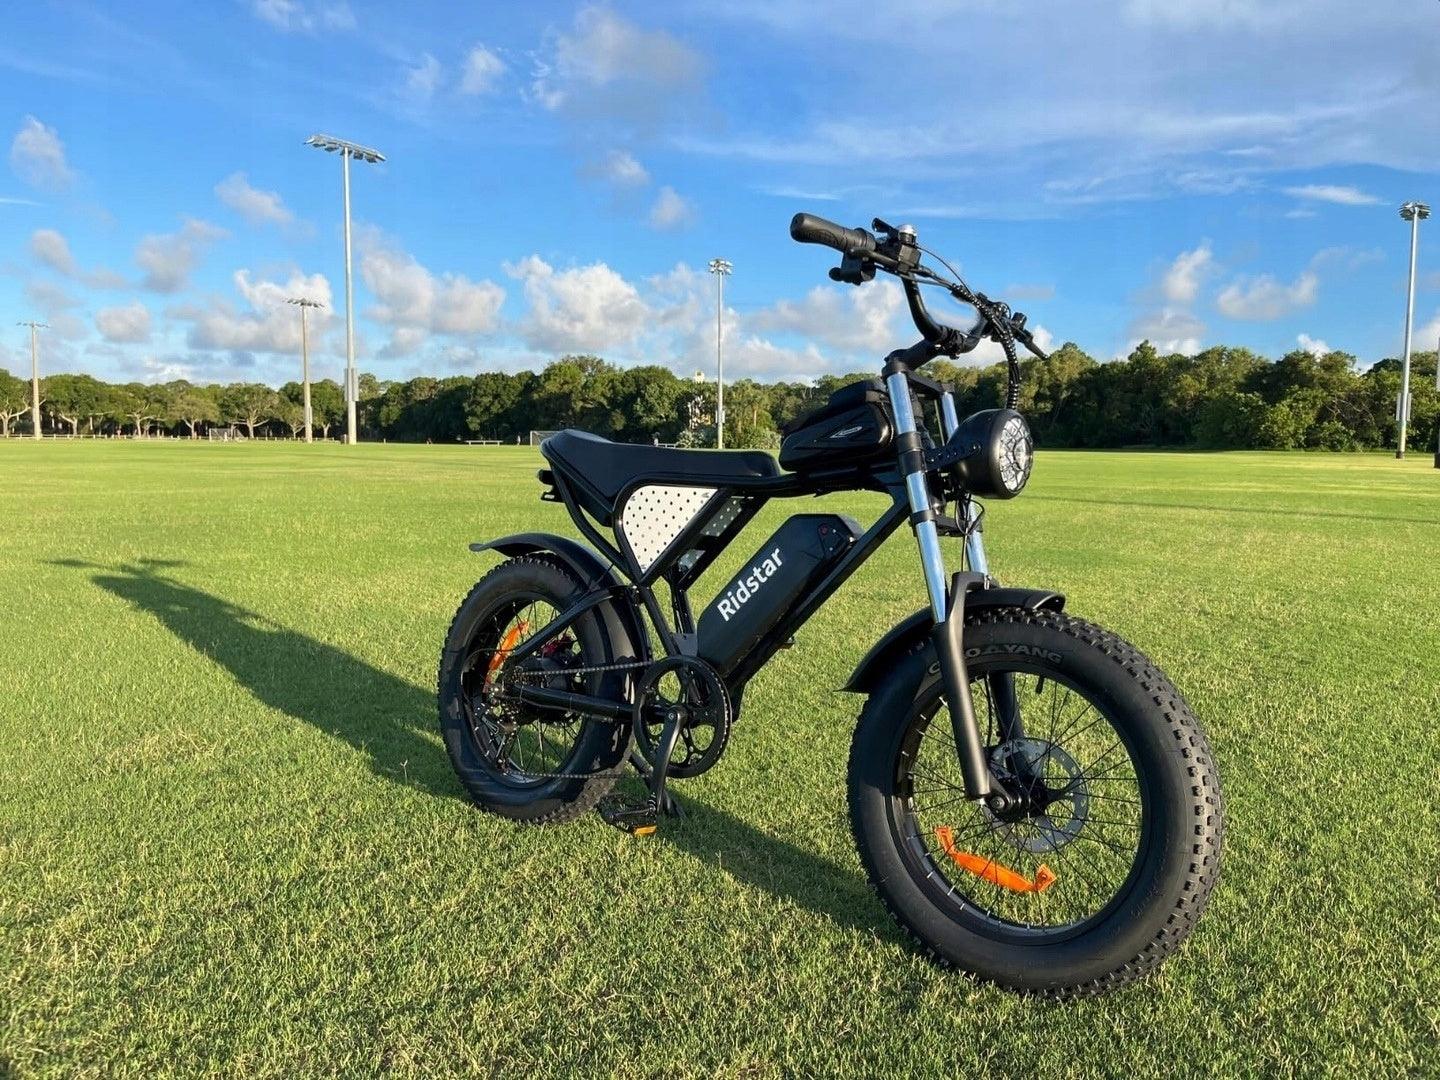
Ridstar Q20 ebike is equipped with 1000W rear hub brushless motor and 48V 20Ah battery, the bike can reach speeds up to 30mph and has a torque of 80Nm, allowing you to conquer 30° slopes easily and providing enough power to get you where you need to go. Now let's get into this bike.
What's in this box?
It has charger x 1, user manual x 1, pedals x 2, little cargo bag x 1, phone holder x 1 and the tools needed for setup.
eBike Installation Steps
1. Take the bike out of the box
Before you stand the bike upright, you'll need to remove the front fender and set it aside.
2. Install Handlebars
Remove the screw at the front of the stem, lift up the handlebars and place it on the orienteer, install the саp and tighten the screws. Make sure the throttle is on right side.
3. Install Screen
Remove the screws from the bottom of the bike meter, place it in the middle of the handlebar stem and tighten the screws.
4. Install Front Wheel
Unscrew the quick release and separate the screw, then sert it into the center axle of the bike tire and tighten.
5. Install Fender
Remove the fender bolts, simply slide the fender on and tighten the bolts.
6. Install Headlight
- Take the pads that came in the box, place the larger pads on the larger bracket, and place the smaller pads on the smaller piece.
- Then install the headlight bracket on the dual suspension, align the screws and nuts and tighten them.
- Insert connector.
- Loosen the headlight bolts, align the tabs and tighten.
7. Install Pedals
8. Install Battery
9. Turn on the battery switch with the key.
10. Press the switch button on the top of the battery to power the ebike.
11. Turn on the switch next to the right handlebar with the key (twisting clockwise is on, and twisting counterclockwise is off).
12. Try clicking the "M" button below the "A" and "V" speed buttons on the left handlebar, then the display screen will light up.
13. Cell phone holder that has a USB port, you can use the battery to charge the phone.
Ridstar Q20 Installation Video
Now that you have completed the assembly of your Ridstar Q20 ebike, it’s time to start your adventure with Gleeride!

